Marketing Brand & Media
How to export and self-host your Webstudio site with a Wordpress headless CMS
Want to use Webstudio as a front end for your blog, while keeping Wordpress as your content management system? AND you want to self-host it? Read on.
Victoria Englert
|
|
4
min read

So, you’ve decided to use Webstudio for your website…
I've talked at length about why I decided to go with Webstudio for my blog. If this is also your decision, and you're wondering how to export your Webstudio site for self-hosting, then you’re at the right place.
To reiterate, the key benefit of Webstudio is that you can build your website with their online cloud builder for free and then export it to host on a web server of your choice. And if you use a free service like Vercel or Netlify, then you don't even have to pay anything for web hosting.
Webstudio actually has a set of documentation on how to self-host, but if you are like me (someone with just basic technical understanding), their instructions are probably quite confusing.
For this tutorial, I'm going to assume that:
you have already built a Webstudio site with a headless CMS integrated using the Webstudio cloud builder;
you are using Netlify as your host of choice.
(If you need some help setting up a headless CMS and integrating it into your Webstudio site, please watch Oleg’s tutorial here.)
(I picked Netlify over Vercel because it’s more generous. Between the two, Netlify is more generous, as you can conduct commercial activities even on their free plan, and they shut down your website bandwidth usage upon reaching its limit, instead of increasing it automatically and then charge you for it (no surprise bill, yay).
There are two ways to export your site with CMS content:
Export your website as static pages (basic HTML/CSS/JS) to host them. While this is the least technically complicated and cheapest option for very simple websites that doesn't require a lot of updating, it defeats the purpose of having a CMS to begin with. I won’t be touching this in this post.
A dynamic JavaScript app (default) if you want your website to dynamically fetch data from your headless CMS. For example, for this blog, I'm using a WordPress hosted on Hostinger as my headless CMS. While the rest of the website doesn't need to be updated, I expect my blog posts to show up on this website whenever I publish them from my WordPress interface. To preserve this function, I need to export my Webstudio site as a dynamic JavaScript app.
Your virgin export — how to export your Webstudio site with CMS pages for Netlify
Note: Webstudio does have a tutorial on Youtube, but it’s 2 years old and a bit hard to follow: https://www.youtube.com/watch?v=Gr1jPtsg6_Q. So just follow along here:
1. Log in to your Webstudio cloud builder, and publish your website to a default wstd.io domain (the free one).
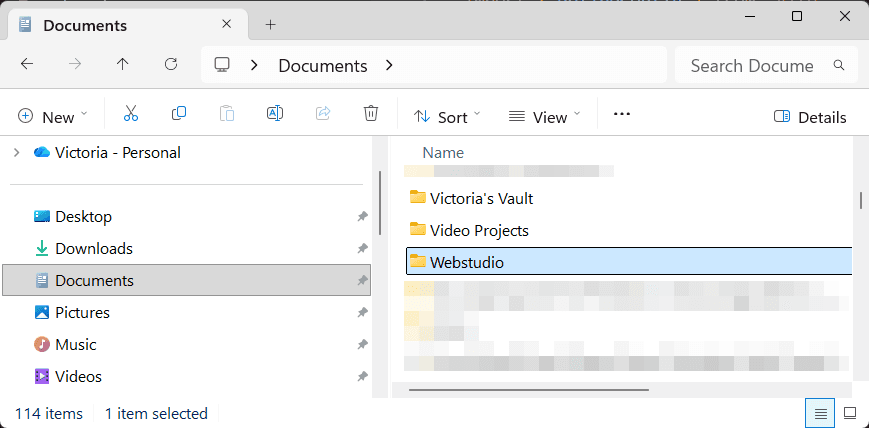
2. Go to File Explorer, Create a folder where you want the files of your website to be saved.
3. Then, create a Netlify account (Go to https://www.netlify.com/ then sign up).
4. Download the WebStudio CLI via the terminal. I use VS Code (it’s free) because I have this software and I absolutely don’t remember any command to even navigate through my folders, but if that’s not you then feel free to stick to the normal terminal interface. I recommend using VS Code.
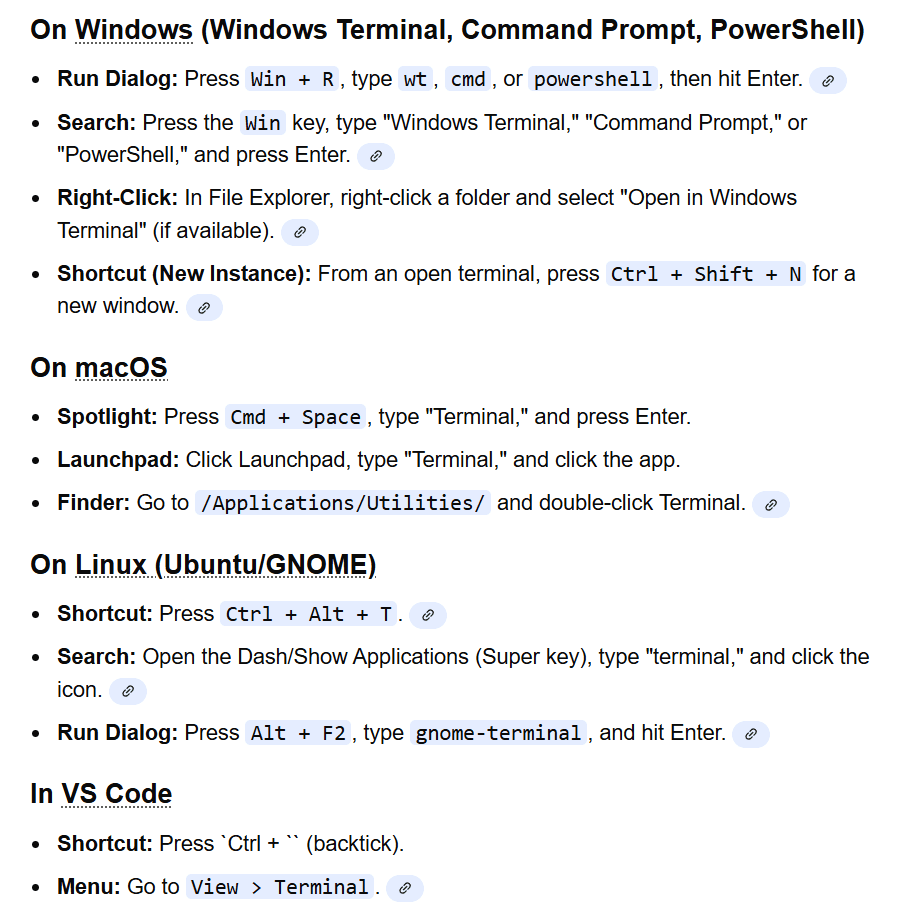
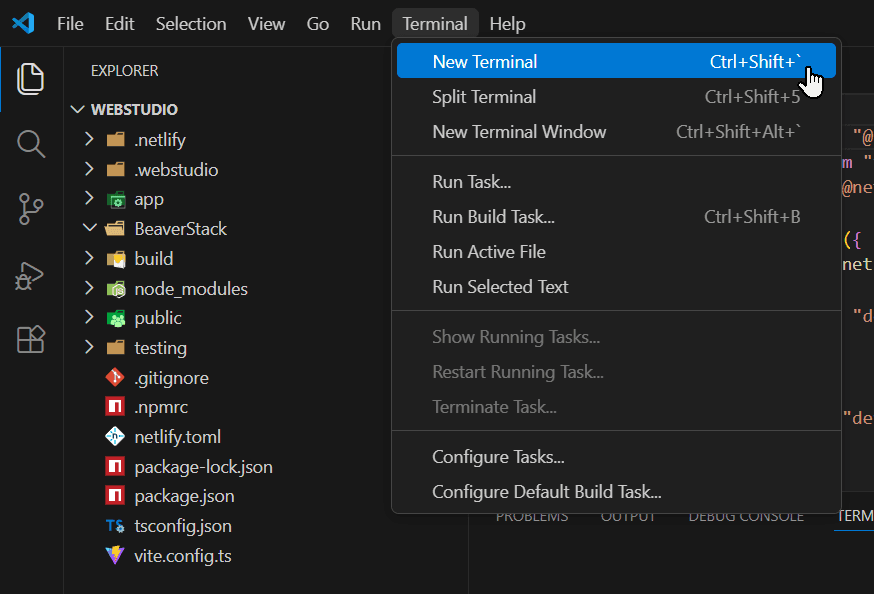
5. If you are using VS Code, simply open up the folder you’ve created in step 2, then open up the terminal (the option is in the top navigation bar).
6. Follow the instructions on this page to install Node.js, and then the CLI: https://docs.webstudio.is/university/self-hosting/cli You’ll be prompted to create a project folder, create a project name, and also to paste a link. !
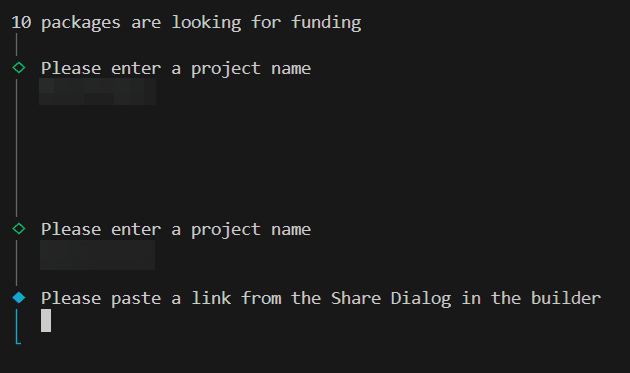
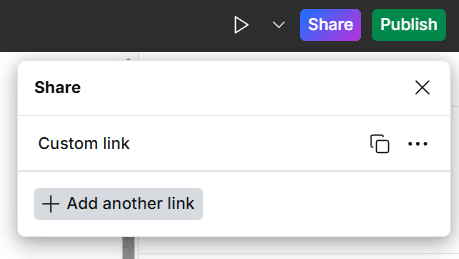
The link referred to here is NOT the live link from your Webstudio cloud builder. Rather, you have to get this via the Share > Share Custom Link in the builder.
7. It will then tell you that “The project is linked successfully”, and ask you “Where would you like to deploy your project?” Choose Netlify.
8. It will ask you “Would you like to install dependencies? (recommended)”. Select Yes.
9. From there, you’ll have to first run npx netlify-cli login to log into Netlify.
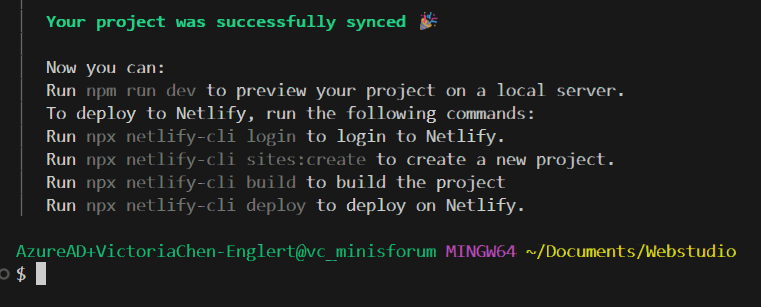
10. Then, you’ll have to create a new project by copying the command npx netlify-cli sites:create and paste it in the terminal and press Enter.
11. The next step is crucial: Navigate to netlify.toml on the side navigation, and paste in the following code at the bottom.
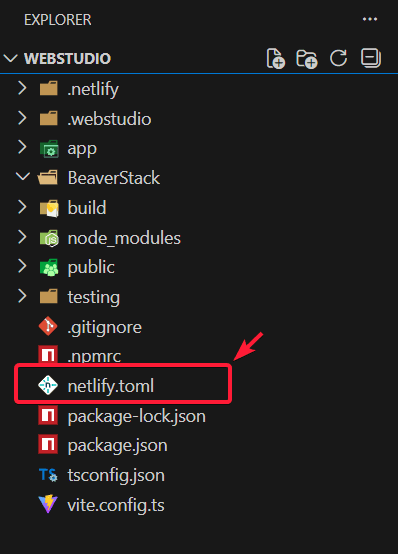
Why this is necessary: Netlify blocks remote image URLs by default for security, unless the remote URL matches an allowlist pattern. You need to replace the URL with whatever your headless CMS URL is. In my case, my Wordpress instance is hosted on theI’m using the hostinger random URL.
The URL should follow the following format, with the \\ before the .com and a .* after.
Make sure you save the page after making the changes.
12. Then, you’re ready to deploy the site, i.e. push the files of the website onto your Netlify server. Just use the npx netlify-cli deploy command to do so.
13. Your website will first be deployed as a draft, which you can use to check that everything looks the way it’s supposed to.
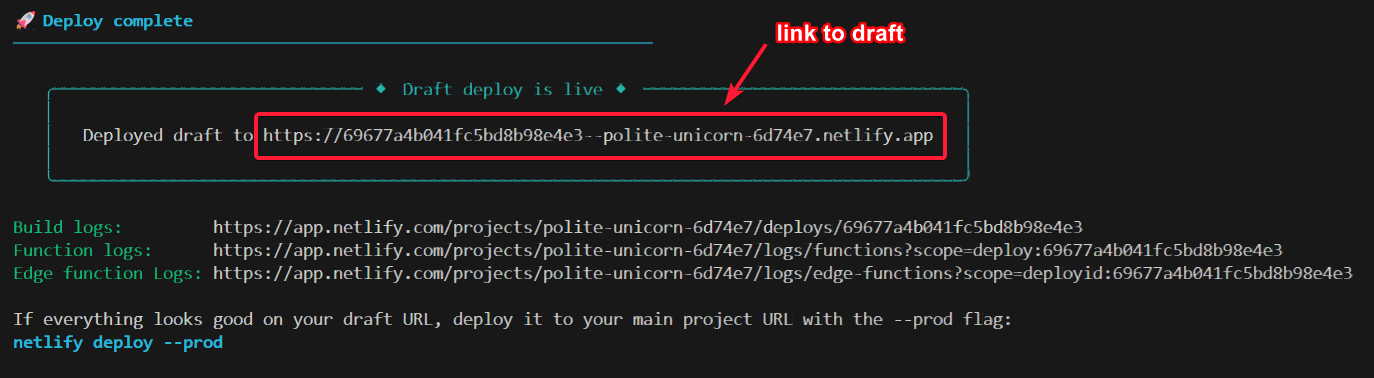
14. If you are happy with it, then type in netlify deploy --prod. The website will now be deployed to the production URL.
15. Done!
I’ve made some changes to my website, how do I update it on Netlify?
1. Publish your website on the Webstudio cloud builder.
2. Open the terminal, navigate to your project folder, type in webstudio, press enter, navigate to Netlify. This syncs the files in your local directory with the published site.
3. Navigate to netlify.toml on the side navigation, and paste in the following code at the bottom.
4. Type in npx netlify-cli deploy and enter.
5. As usual, your website will first be deployed as a draft.
6. If you are happy with it, then type in netlify deploy --prod. The website will now be deployed to the production URL.
7. Done!

Thank you for reading!
If you enjoyed the article and would like to buy me a nice cup of cappucino,
👉 support me on Ko-fi
How to export and self-host your Webstudio site with a Wordpress headless CMS
Should you use Webstudio? Confessions from a Webflow junkie
Why New Year’s Resolutions Rarely Work — and What Does Instead
How to Register as an Einzelnunternehmer in Germany: A Practical Guide for Solopreneurs / Freelancers
Useful Resources for Aspiring Pigeon Rescuers
What “Ask and It Is Given” Taught Me About Emotional Regulation
Trapped in your own business
I Replaced Notion With My Own AI CRM. Here's My Process.
“Help! Why can’t I get anything done?” — A letter from a small business owner
The REAL Reasons Your Project Management Tool Failed